Navigate desktop
Synology Router Manager (SRM) is a dedicated web-based operating system for your Synology Router. With SRM, you can quickly and easily accomplish the following on your Synology Router:
- Configuring the Internet, wireless, and local network settings
- Regulating and monitoring network traffic
- Securing network connections by various means
- Managing external USB storage and printers
- Accessing files with the Win/Mac, FTP, and WebDAV services
- Running add-on packages for more features
Note:
- To learn more about all of the features available on SRM, please visit Synology's official website.
Contents
1. Sign in to SRM
After setting up and installing SRM on your Synology Router, you can sign in using a browser on your computer.
Note:
- For step-by-step instructions to install SRM on your Synology Router, please see the quick installation guide for your Synology product available at Synology's Download Center.
To sign in to SRM:
- Make sure your device and Synology Router are connected to the same local network or the Internet.
- Open a browser on your device and enter one of the following in the address bar:
- Over the Internet: "Public IP address of Synology Router:8000" (e.g., "66.249.7x.1xx:8000") (when your device and the Synology Router are connected to the Internet)
- Over the local network: "Private IP address of Synology Router:8000" (e.g., "192.168.1.1:8000") or "router.synology.com" (when your device and the Synology Router are connected to the same local network)

Note:
- The querying device can find the Synology Router via "router.synology.com" from everywhere, except under the following limitations.
Operation ModeLimitations
Wireless Router/
Wireless ClientThe querying device that has its DNS server redefined and not pointed to your Synology Router (e.g., to "8.8.8.8") cannot find it via "router.synology.com" Wireless AP In the wired/wireless local network: - Querying devices that adopt pure IPv6 cannot find the Synology Router via "router.synology.com"
- Querying devices that adopt mixed IPv4/IPv6 may not find the Synology Router via "router.synology.com"
- If you choose not to keep your Synology Router accessible via "router.synology.com" upon operation mode change.
- Under the web-filter (i.e., Basic, Protected, or Custom), a querying device that adopts pure IPv6 cannot find the Synology Router, and a device that adopts mixed IPv4/IPv6 may not find it.
- Enter your username and password and click Sign in.
2. Visit the SRM desktop
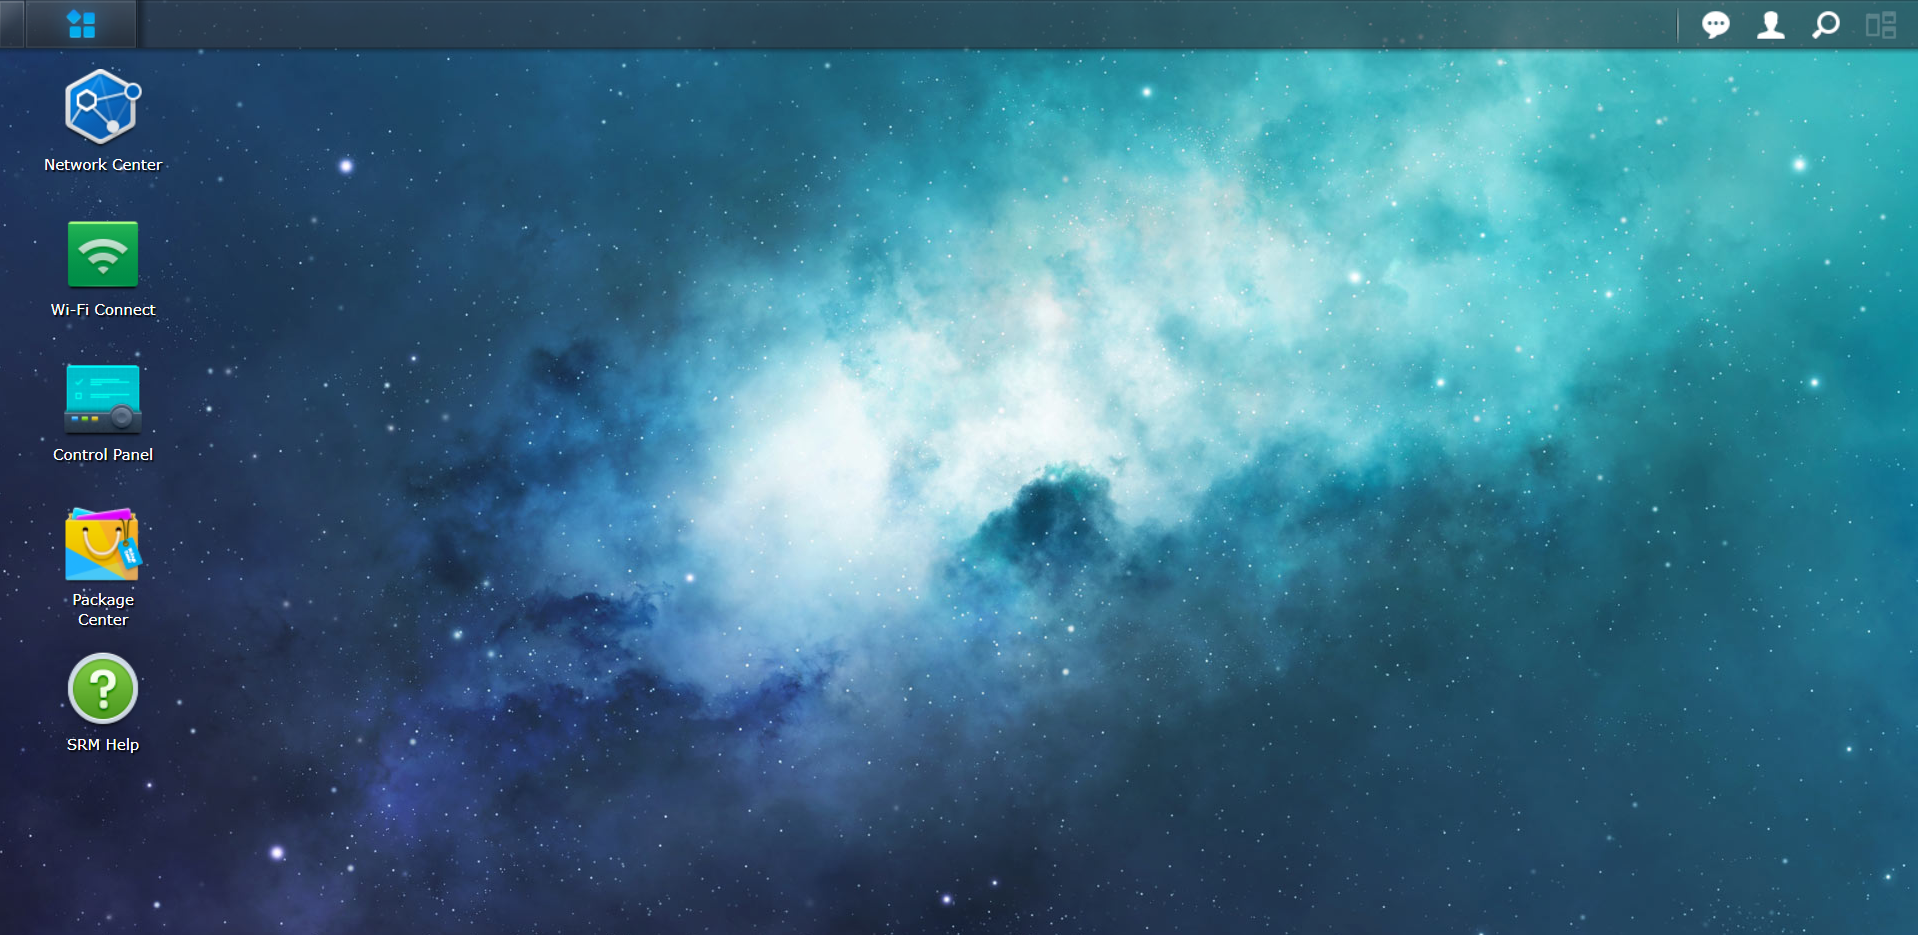
After signing in, you'll see the SRM desktop. From here, you can start getting things done, for example, managing settings, using packages, or viewing notifications.

To customize the SRM desktop:
You can customize the desktop wallpaper with default or personal images:
- Go to the top taskbar and click Options > Options > Desktop.
- Select Customize wallpaper and click Select image:
- To use default wallpapers: Click Default Wallpaper on the left panel, and select a default option.
- To use personal images: Click My Images > Upload, and select the desired image for instant application. If you have uploaded images here, you can select one of the used images.
- Click Select for instant application.
- You can fine-tune the wallpaper display via the drop-down list under Select image.
You can also change other desktop settings (e.g., text color and icon size) to suit your needs:
- Go to the top taskbar and click Options > Options > Desktop.
- You can change the settings below:
- Main menu style: Shows applications and packages in a Fullscreen or Drop-down list.
- Desktop icon size: Shows application/package icons in the Normal (64x64) or Classic (48x48) size.
- Customize color: Select this option to change the color of icon caption text or desktop background.
- Click OK to save the settings.
3. Visit the taskbar
The taskbar is located at the top of the screen and includes the following items:

- Show Desktop: Minimizes all open applications and package windows.
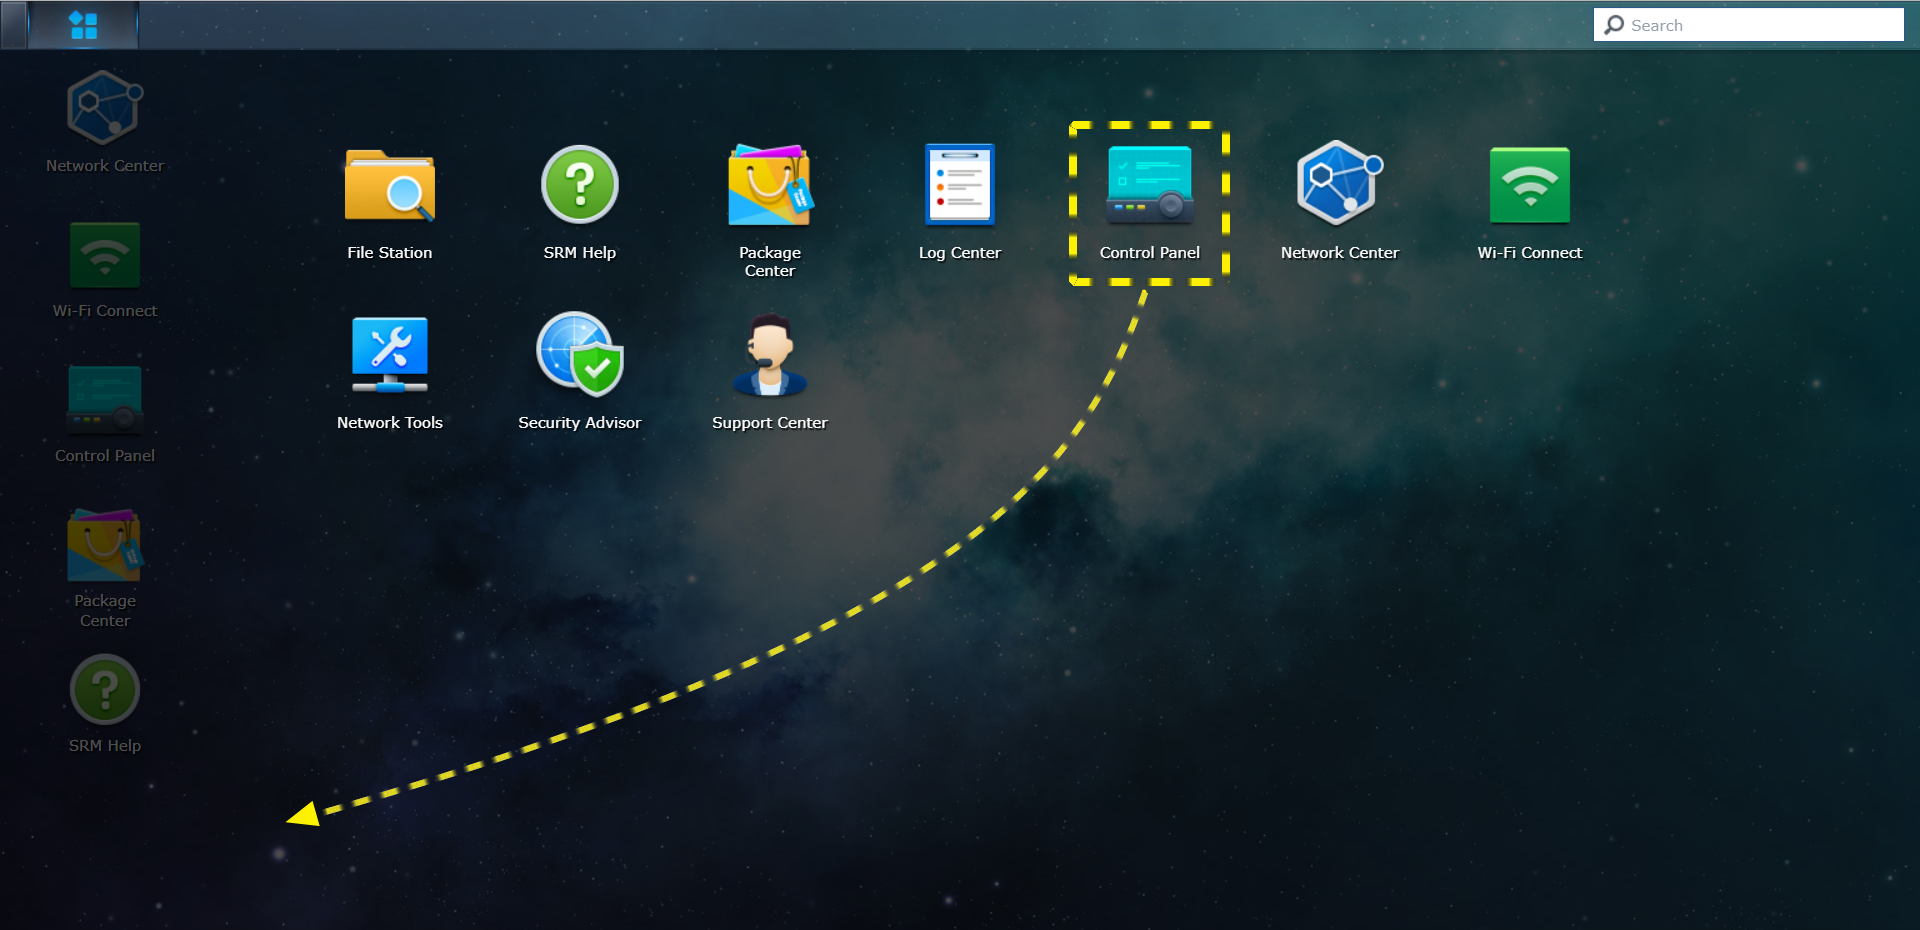
- Main Menu: Views and opens applications and packages installed on your Synology Router. You can also click and drag to create desktop shortcuts.
- Open applications: Displays currently open applications and packages. You can right-click and pin packages to the taskbar for faster access in the future.
- Upload Queue: Appears when you start uploading files to your Synology Router. Click here to see more details, like progress and upload speed.
- Notifications: Displays notifications, like errors, status updates, and package installation notifications.
- Options: Allows you to restart, or log out of your Synology Router, or modify personal account options.
- Search: Quickly finds specific applications, packages, or SRM Help articles here.
- Pilot View: Offers a preview of all open application and package windows.
4. Visit Main Menu
You will find a list of applications and packages installed on your Synology Router here.
To create desktop shortcuts:
- Open Main Menu.
- Choose either way to create a shortcut:
- Right-click the icon of a desired application/package and choose Add to desktop.
- Click and drag an application or package icon to the side.

